3 Steps to Start Your 3D Design Journey with Fusion 360
If you're interested in 3D design, Fusion 360 is the perfect companion. Developed by Autodesk, this powerful software is suitable for students and hobbyists, and is also widely used in professional engineering and design.
In our previous article, we used Fusion 360 to design a 3D brick model and export it for After Effects (AE) animation production.
Many people may not know how to get started with this useful software. This article will teach you how to download Fusion 360 and begin your 3D design journey in just three steps.
Step 1: Visit the Fusion 360 Website
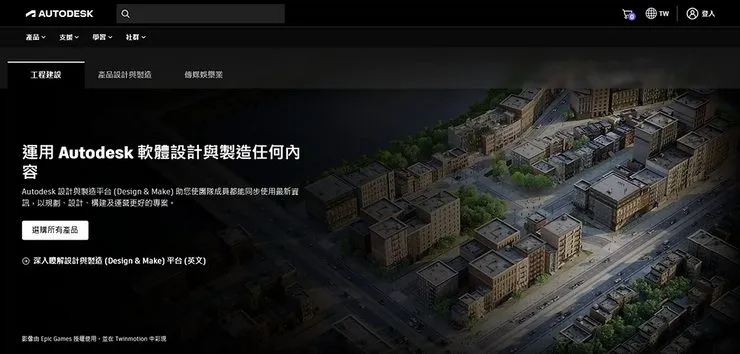
Go to the official Autodesk website at autodesk.com. Make sure you're on the official site to avoid downloading unsafe or unofficial versions.
Step 2: Create an Account and Download
Register for an Autodesk account to access Fusion 360 and other Autodesk products. Note that Fusion 360 saves all files to Autodesk's cloud storage.
Follow the registration prompts — enter your email, name, and address to complete the signup.
Select "Fusion 360" from the "Products" menu at the top to begin downloading.
Don't worry about the pricing page. Fusion 360 offers different versions: Personal, Startup, Student, and Commercial. Scroll down to find the Personal version (for personal/hobby use) — that's the one we want.
The download may take a few minutes. Once complete, follow the installation wizard to set everything up.
Step 3: Launch and Start Designing
After installation, launch Fusion 360. Sign in with your Autodesk account on first launch, and you're ready to start designing!
We'll continue sharing tutorials on how to use 3D models to create animations. Follow the BrickNet blog for regular tutorials and tips!